Sunday, November 18, 2012

Simple Lap Blanket

So this weekend I worked on Christmas and Hanukkah presents.  I made 2 lap blankets.  One is for a child and the other is for an adult.  I use what I like to call the pillow method.  (because it's just like making an non-stuffed pillow). I find that this is really an easy blanket to start with if you are new to sewing.  If you take your time and follow the steps below you should end up with a nice gift.

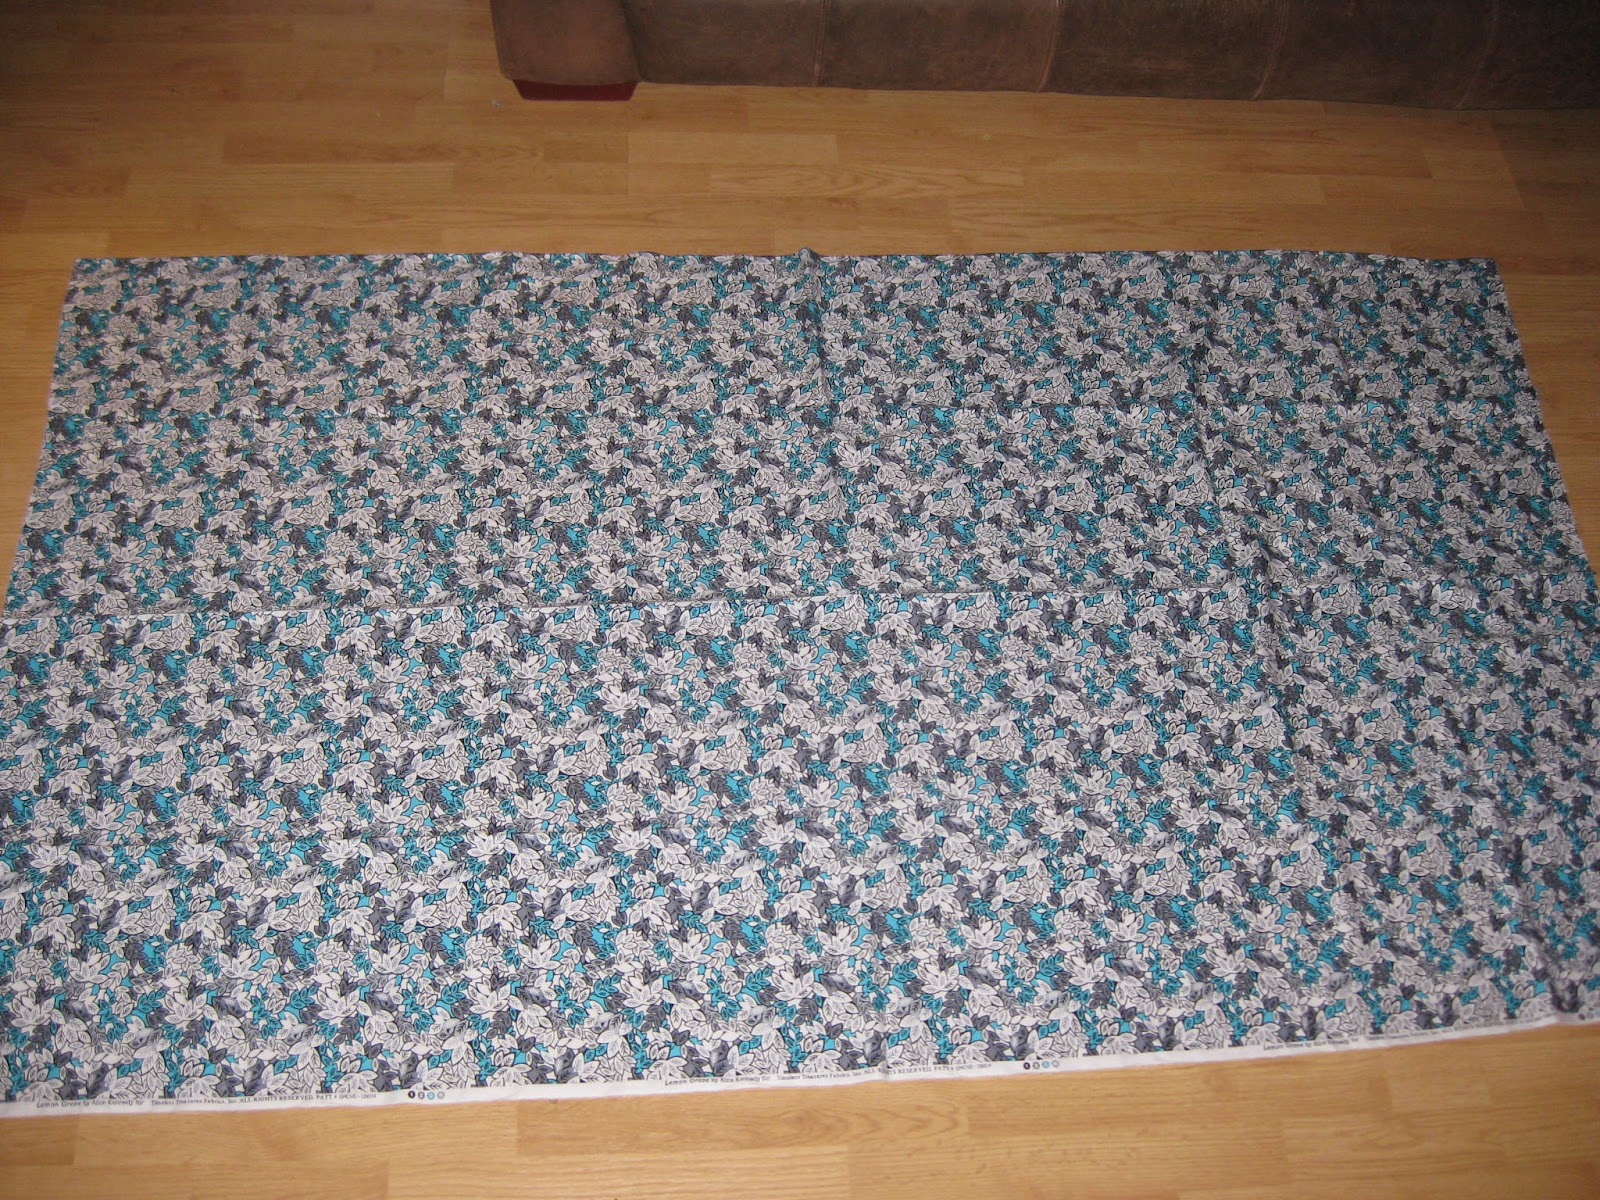
Blanket One (Hayley's blanket)

My Sewing Machine...well my mom's old machine...it's not new or fancy but it is old and build well and I love it! 

 Step 1: Start with 2 pieces of fabric.  I used 1 1/2 yards of each.  (Fleece and flannel)

 Step 2: Place one piece of the fabric right side up (the side you want showing on your blanket) then take the second piece and place is right side down.  So at this point the right sides should be facing each other.

 Step 3: Now we want to start pinning the two pieces of fabric together.  (don't skip this part! I did once and my blanket wasn't even a real shape it was more like an amoeba).
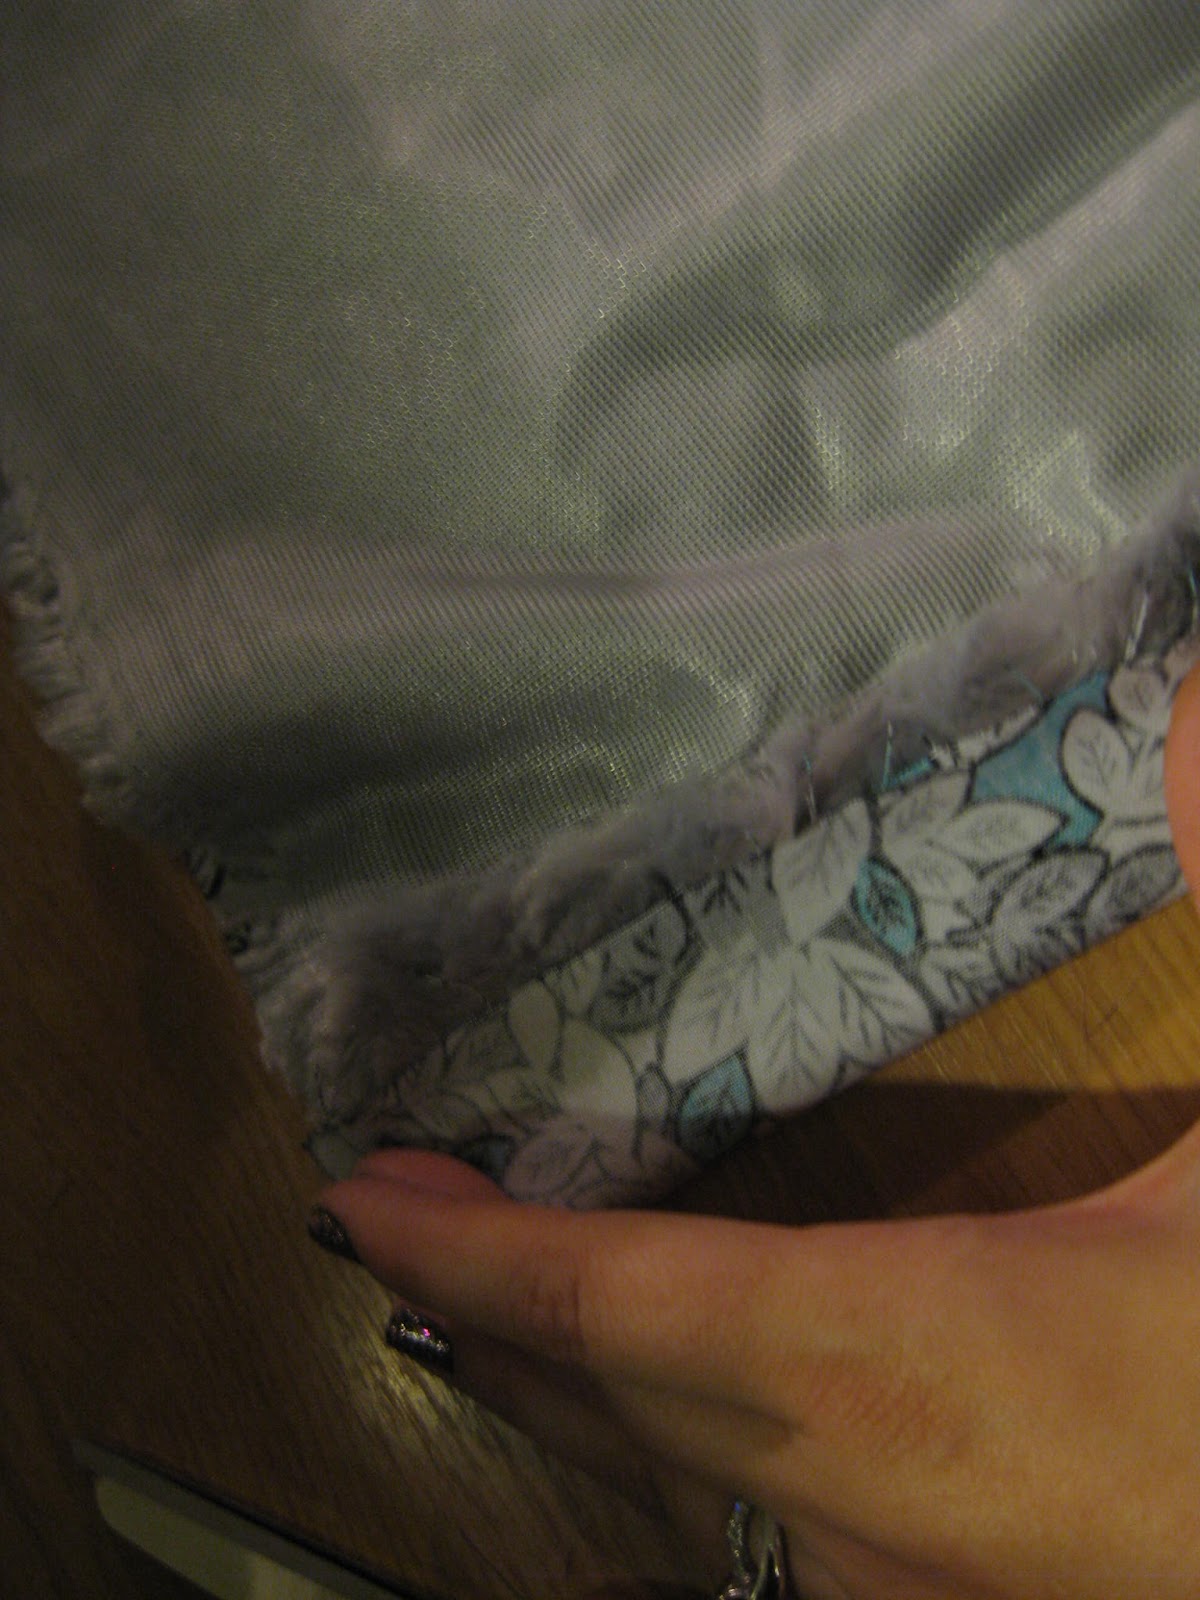
Start by folding one side over like shown in the photo.  By doing this you create a better edge that is easier to sew and less likely to fall apart in the wash.
Step 4: At the corner fold over both sides (horizontal and vertical)  like shown to make a  tight corner. Place a pin in the corner to secure.


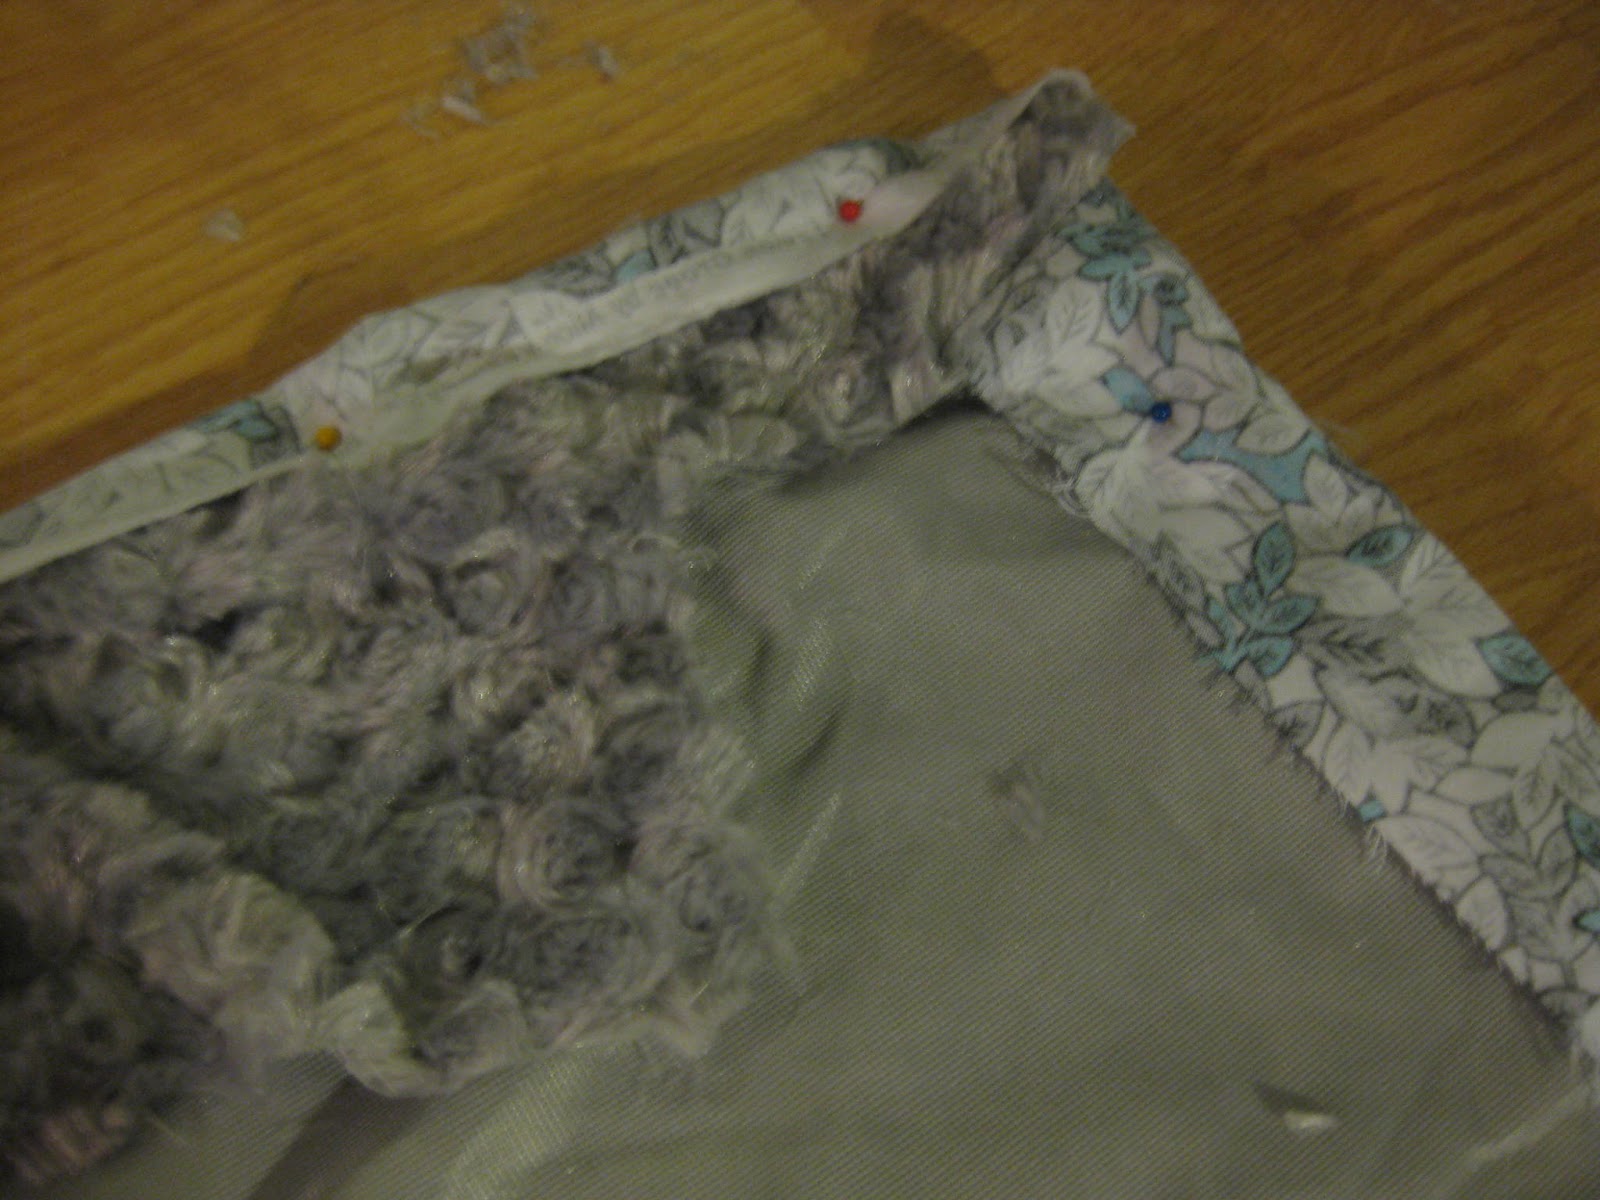
Step 5: Continue folding over the all four sides 
and pin as you go. Each pin should be about 3-4 inches apart
(When you buy 2 different types of material you might find they are different heights.
Just remember to trim the excess off)


Step 6: Time to start sewing.  Remember to always back track your stitch when you start.


 Step 7: Sew the first 3 sides completely making sure to lift the foot when you get to each corner and rotate the fabric to start sewing the next side so that you have a flowing stitch.  (if you need more explanation let me know and I'll post a video)


Step 8: After you have sewn the first three sides go on to the forth side.  Sew it until you get a few inches from the end.  (How many inches will depend on the thickness of your fabric the thicker the more of a gap you will need)

As you can see I am not perfect.  If you mess up and go to close to the edge thus leaving a gap just go back to about an inch before you messed up and go over the area again and continue on.  You  won't be able to tell in the end.

 Step 9: Put your hand or fingers through the gap in the corner and reach through to pull the opposite corner through the hole.  Then start pulling the whole blanket through the hole until the blanket is right side out.


Step 10: Once the blanket is right side out use your fingers to poke the corners out and shape them.
Step 11: Take the gap that is left in the blanket and press it together along the seem line.  Then sew the gap closed as close to the seam line as you can.


It's not perfect but it really is small an no one should look too close.  If you can use a thread color that blends into your fabric.

 Finished Product


Second blanket (Jenny's Blanket)
This will be a mostly photo tutorial only a few added tips for this type of material.  Same instructions as Hayley's blanket only different materials.  (2 1/2 yards of each) Cotton and a fluffy fuzzy material I found.  It is extremely slippery so I even more must stress the importance of pinning your fabrics together securely.


Right Sides Together


Fold and Pin

Remember if the fabric is two different heights cut off the excess.


Start at the end of each corner

With your needle down in the fabric lift the foot and turn your fabric


This material is very slippery.  Remember to constantly
smooth it out to avoid it catching underneath .

See I ran out of thread here... It's ok though just start over a few inches before the spot
and continue on.

Mind the Gap!  See this gap is larger because the material is thicker

Pull the fabric through
Push out your corners
Press and Sew the Gap


 Finished Product


Saturday, November 17, 2012

Birchbox November

I have been getting Birchbox for 7 months now.  My husband was getting the Birchbox for men for a few months but it really isn't his thing he is low maintenance   However prior to canceling the men's subscription he found new shaving products he swears by.

I like Birchbox it is consistent in that I always get my money's worth and I always have new quality products to try.  This month was no different.


As you can see I had a little help with my box this morning from my dog Tessa. As usual the box comes with a card listing the products.  This month the Birchbox is supporting The Art of Elysium Normally the products come wrapped in tissue paper but this month we got this cute gift pouch that I can use to send to someone else. I'm guessing I'm sending something to my cousin Hannah Banana because she is the cat's pajamas and P.S. See you soon


 So the first product I pulled out was from Stilla.  It is their all over shimmer liquid luminizer; mine is in Rose Gold Shimmer.  This isn't the best picture.  It is really a light pinkish slighly coral color.  I used it as an eyeshaddow and cheek luminescent this evening and was pleased.  I LOVE the way it looks on my eyelids.  It also makes a great cat toy.


 The next product I pulled out was a lengthening mascara from ModelCo - Fibre Lashxtend.  I also tried this tonight and so far I like it it is a nice black.  It has a mirror on the side of it which is helpful and it really does lengthen and it doesn't bleed; That's important for me since most mascaras just melt on me and make me look like a raccoon after a few hours.  I usually use tube mascaras since they can't do that.  I am pleased with this one though so far so good.


 Next was this divine fragrance.  It is in a roller-ball which I love love love (reminds me of Eloise - I love love  love that book)  Anyway, the Fragrance is from Jouer's Fragrance Cornucopia it is a trio of gardenia, jasmine and honeysuckle my 3 favorite flowers.  This scent is light and floral and really just transports you.


 This is the one product I'm really looking forward to trying.  I have thick curly hair so I cannot shampoo everyday or I destroy my hair.  I can't wait to try this hair powder.  I've used the dry spray shampoo's and I've even used baby-powder on a rare desperate occasion so I'm curious to see how this works.  Plus it says it smells like lavender and sage (YUM)
Ok, so not so thrilled for this one right out.  I mean I've tried the apple one before and yuck so I will try it right now for you guys and give you my first impression...Ok not bad not great but not bad...it's almost a fig newton like texture and the cranberry is tasty.  It's not going to be my go to snack but this flavor is good and it's a good low calorie snack
The last thing in this box was a coupon code for Chromatic shoes.  The shoes look super cute but they are $88.00 a pair so even with $15.00 off I'm not sure I will end up ordering but I might share this with one of my cousin's or friends that are a little more shoe obsessed than me.

Birchbox is $10.00 a month no S&H Sign up here and use my referral: Birchbox