Blanket One (Hayley's blanket)
 |
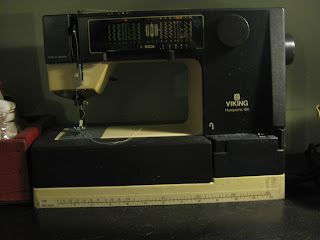
| My Sewing Machine...well my mom's old machine...it's not new or fancy but it is old and build well and I love it! |
Step 1: Start with 2 pieces of fabric. I used 1 1/2 yards of each. (Fleece and flannel)
Step 2: Place one piece of the fabric right side up (the side you want showing on your blanket) then take the second piece and place is right side down. So at this point the right sides should be facing each other.
Step 3: Now we want to start pinning the two pieces of fabric together. (don't skip this part! I did once and my blanket wasn't even a real shape it was more like an amoeba).
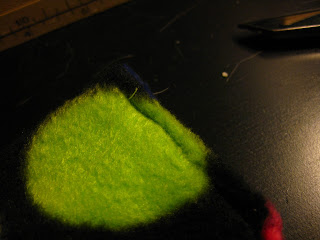
Start by folding one side over like shown in the photo. By doing this you create a better edge that is easier to sew and less likely to fall apart in the wash.
Step 4: At the corner fold over both sides (horizontal and vertical) like shown to make a tight corner. Place a pin in the corner to secure.

Step 6: Time to start sewing. Remember to always back track your stitch when you start.
Step 7: Sew the first 3 sides completely making sure to lift the foot when you get to each corner and rotate the fabric to start sewing the next side so that you have a flowing stitch. (if you need more explanation let me know and I'll post a video)
 Step 8: After you have sewn the first three sides go on to the forth side. Sew it until you get a few inches from the end. (How many inches will depend on the thickness of your fabric the thicker the more of a gap you will need)
Step 9: Put your hand or fingers through the gap in the corner and reach through to pull the opposite corner through the hole. Then start pulling the whole blanket through the hole until the blanket is right side out.
 Step 10: Once the blanket is right side out use your fingers to poke the corners out and shape them.
Step 11: Take the gap that is left in the blanket and press it together along the seem line. Then sew the gap closed as close to the seam line as you can.
It's not perfect but it really is small an no one should look too close. If you can use a thread color that blends into your fabric.
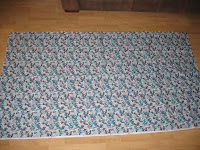
Finished Product

Second blanket (Jenny's Blanket)
This will be a mostly photo tutorial only a few added tips for this type of material. Same instructions as Hayley's blanket only different materials. (2 1/2 yards of each) Cotton and a fluffy fuzzy material I found. It is extremely slippery so I even more must stress the importance of pinning your fabrics together securely.
 |
| Right Sides Together |
 |
| Fold and Pin |
 |
| Remember if the fabric is two different heights cut off the excess. |

 |
| Start at the end of each corner |
 |
| With your needle down in the fabric lift the foot and turn your fabric |
 |
| This material is very slippery. Remember to constantly smooth it out to avoid it catching underneath . |
 |
| See I ran out of thread here... It's ok though just start over a few inches before the spot and continue on. |
 |
| Mind the Gap! See this gap is larger because the material is thicker |
 |
| Pull the fabric through |
 |
| Push out your corners |
 |
| Press and Sew the Gap |
Finished Product


No comments:
Post a Comment